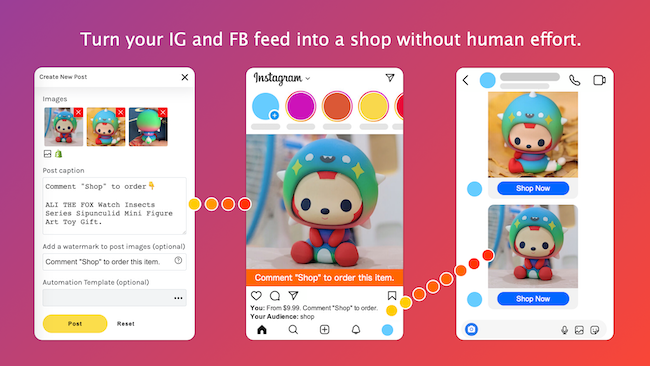
Shoppable Post is kind of post that allows your customers and audiences shop and pay right under your FB & IG feed, and there is no human effort required.
Since Instagram does not allow us to add any links to either the posts or stories, what our audience can only do is to comment under the post or DM us to ask for links and price about the products.
Until we have Biobiogo, we have been loosing customers because we could not respond to those comments and DM in the right time due to the time differences and the holidays.
Said a fashion shop owner
What Problems Shoppable Post Solves?
A shoppable post is an Instagram or Facebook post which an automation connected to, helping you to reply to the post comments and DM the product link to commenter automatically and instantly.
So you never worry about your customers and audiences can only see your posts and stories but not able to order the products.
Click Here to Check the Dome >
How Create a Shoppable Post?
There are only few clicks to create your shoppable posts and publish to your Instagram and Facebook feeds. Here is the steps:
- Connect your Instagram or Facebook accounts
- Create your Shoppable Posts
- Setup the automation
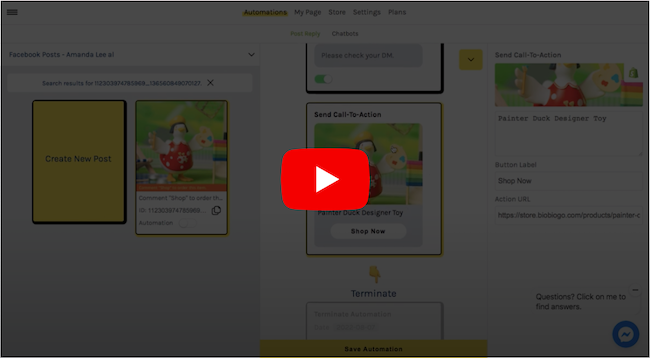
Watch a Video
Or Continue Reading The Course
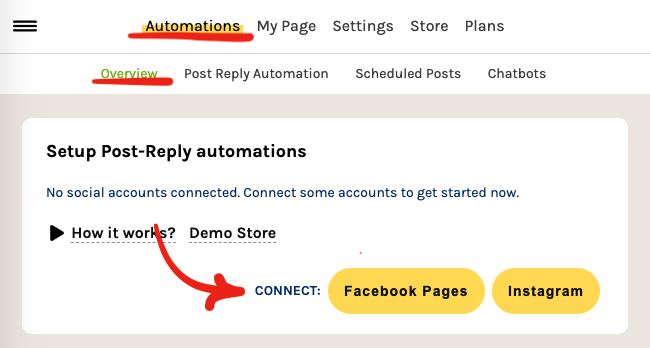
1. Connect your Instagram or Facebook accounts
Navigate to Automations > Overview page, you will be able to connect your Facebook Pages and Instagram accounts.
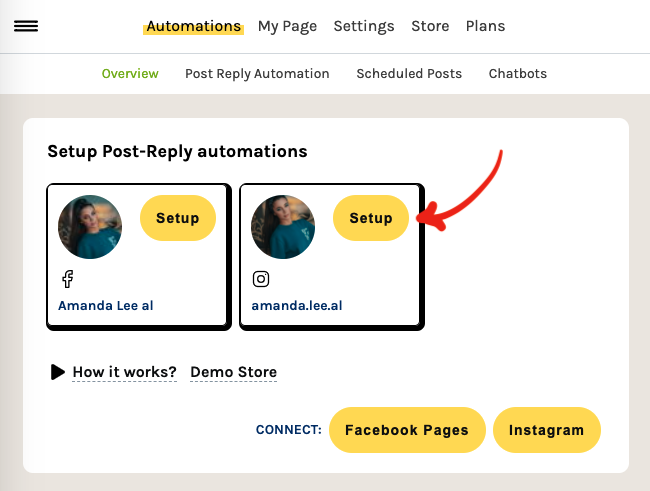
2. Create your shoppable posts
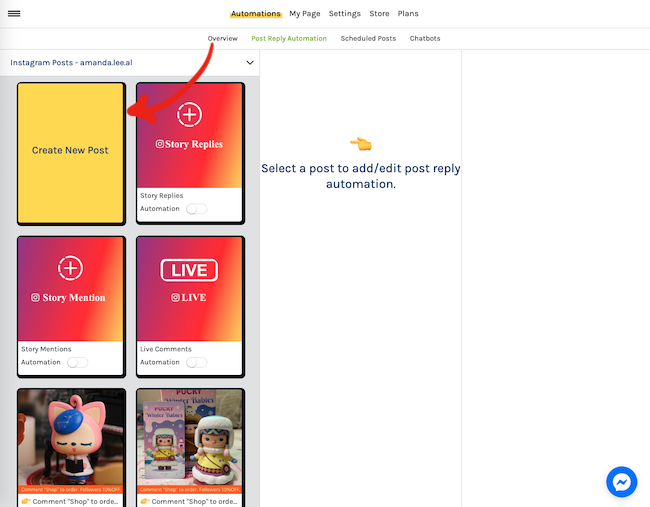
After connected your account, click Setup button beside your connected accounts.
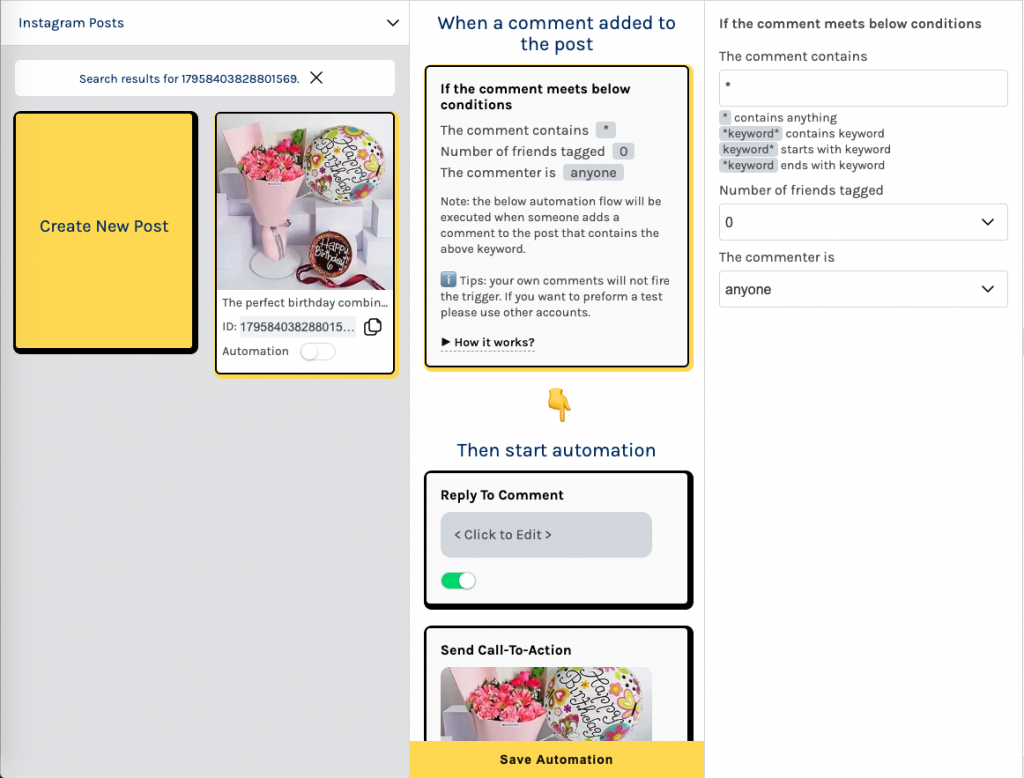
Then all your posts will be shown on one page. In this page click Create New Post.
A dialog will be prompted which allows you to fill the post information.
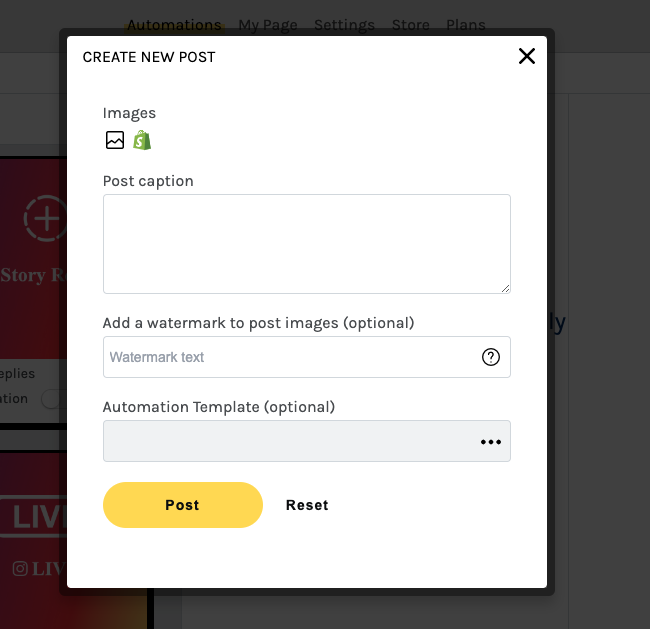
Images: if you have a Shopify store connected, click on the Shopify Icon to browse your products and all data can be filled from your Shopify store product. Otherwise you may click on the Image Icon to browse the images you are going to post.
Post caption: if the form is filled from a Shopify product, the post caption will also be filled with your product description. Otherwise you may fill it manually.
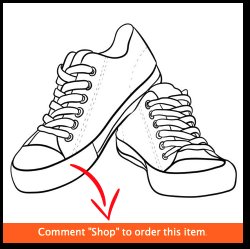
Watermark text: a phrase that can be append to the post images, for example Comment “shop” to order this item as you may wish your audience can easily find out how they can shop, your post will looks like the following image.
Click Post button to publish your post.
3. Setup the automation
Having your post created, you need to setup an automation to respond to the comments automatically.
As soon as your post being created, you will be prompted to choose a automation template.
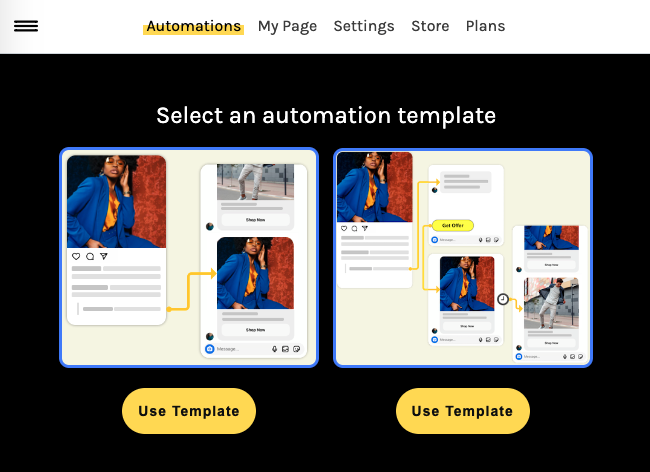
Choose one template and setup the automation.
In this step you will have several components to setup:
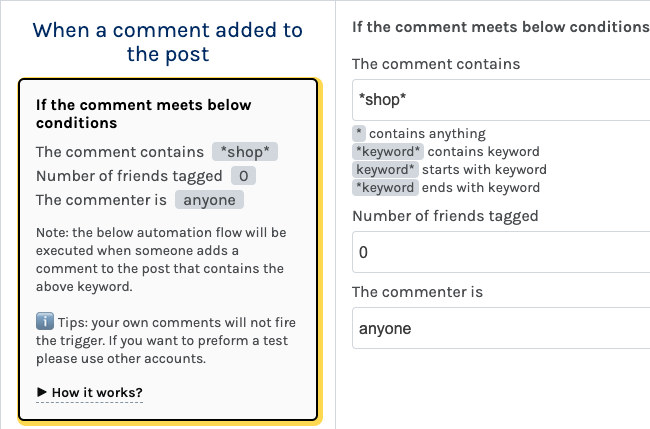
Condition: is how the automation behavior when someone comments on your post. For example you may fill *shop* in the Comment matches field as you have set Comment “shop” to order this item as the watermark text while creating the post. In this case anyone comments in the post that contains shop, the automation will respond to the comment according your setup.
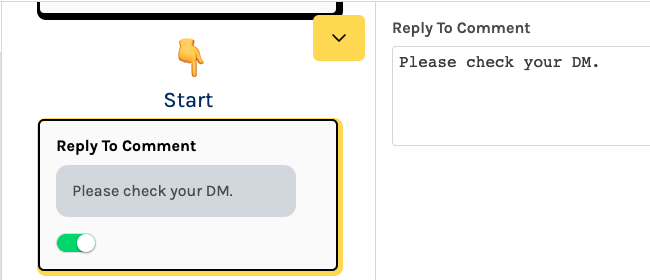
Reply To Comment: the message you would like to reply to the comments which containing shop. For example Please check your DM as the automation is going to send the product link to the person who added this comment.
Send Call-To-Action: in this example, you may choose your product as the CTA which will be sent to the person who added the comment. If you have a Shopify store connected, then just simply click on the Shopify Icon to fill this component.
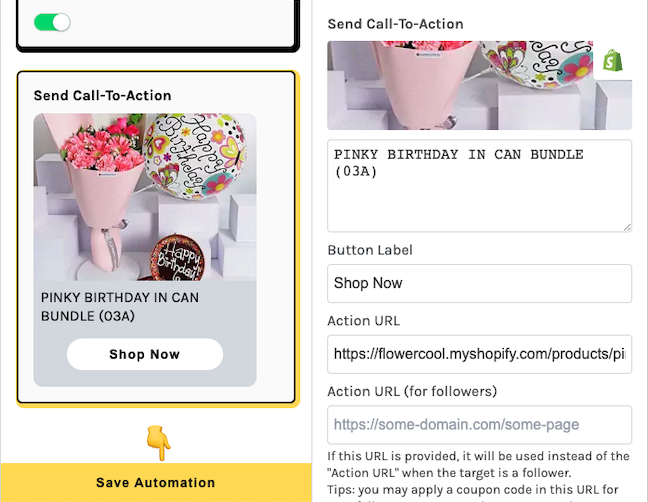
Finally click on the Save Automation button then you are good to go and test.
Important note:
the automation WILL NOT respond to your own comments even it meets the conditions. If you want to preform a test you may use other accounts to comment on the post.